
Frequently Asked Questions
No, we supply PCB’s only along with our fitted chassis designs and faceplates
Yes, check out our “Build Basics” series of videos on the Headfirst Amplification YouTube channel. There are also full build tutorial videos to watch.
See the video below for info. You order a chassis for your project direct from Nik at Ceriatone. Then we can supply matching faceplates.
Schematic, Wiring layout, Bill of Materials, other generic parts doc (knobs, switches etc) all supplied via email post ordering.
Join the EvolveDIY Builders Group on Facebook, it was setup for this exact purpose. The community helps each other out.
Yes, I’m pleased to say that we do have a number of experienced builders in different parts of the world that can complete your project build. See section below, and feel free to contact them directly to discuss your build.
We are a low volume niche supplier, and therefore ship once per week. When shipped, tracking details will be added to your Order and you’ll receive email notification.
Allow an extra 7 to 14 days for faceplate orders as these are made to order, where you’ll receieve a jpeg template to review prior to engraving.
We ship via AusPost, which will then be handled by your national post office. E.g. USPS.

Evolve DIY Authorised Builders
Not ready to build your own yet?
No problem, we have a list of builders worldwide that can help you out.
Alex Catlow
siriusamplification@gmail.com
Melbourne, Australia
Andrew Tsai
andrewraharjo@gmail.com
San Diego,CA, USA
Shane Wenzel
Shanewenzel77@gmail.com
Germanton NC, USA
Tim Tiernan
piemanelec@gmail.com
Dallas, TX USA
Nick Dee
ntropllc@gmail.com
Mobile, Alabama, USA
Alex Green
info@xanderamplification.com
Edinburgh, Scotland
Maël NURIEC
nuriec.audio@gmail.com http://www.nuriec.com/ Angers, France
Got questions? Watch these first!
Chassis & Faceplates
We have range of custom designed chassis's for builds with our PCB's.
Contact for ordering - chassis are manufactured to order by Ceriatone, who can supply matching Headcabs too. All Headfirst Chassis designs are drilled for Alpha 24mm M8 thread/bushing pots, with the exception of the VH chassis which is set for Alpha 16mm pots with 7mm bushing. Chassis are ordered directly from Nik at nik@ceriatone.com by quoting the chassis # below.

Chassis Designs:
#1 50w MCII/MTL. (2 octal). 580mm
#2 100w MCII/MTL (4 octal). 580mm
#3 50w Cali (drilled for Ceriatone Gargoyle trans set). 468mm
#4 45w Double DS (no trans holes) 468mm
#5 50w Cali (no trans holes, 2 octal) 468mm
#6 100w Cali (no trans holes, 4 octal) 468mm
#7 50w MCII/MTL. (2 octal). (drilled for Ceriatone Gargoyle trans set). 580mm
#8 100w MCII/MTL. (4 octal). (drilled for Ceriatone AH100 trans set). 580mm
#9. 45w Double DS (drilled for JTM45 laydown PT, OT & Choke) 468mm

Chassis Cont...
#10. 25w 6V6 MC25 25w using Ceriatone TW Transformer set. 580mm
#11. 4GS/Generic 4xOctal (drilled for Ceriatone AH100 Transformer set) 580mm
#12. 4GS/Generic 4xOctal (no transformer holes, drill your own!) 580mm
#13. VH2/3/4 chassis with dual rows of pots. pre drilled for 100w transformer set. 580mm. Uses 16mm Alpha pots, 7mm bushing..

Custom Faceplates
StoreMatching faceplates for the chassis range.
Faceplates are made to order and can be customised: text, logos and a range of materials available.
Plates are US$100 for a matching front and rear set and can be ordered from the online Store right here. We will then be in touch to confirm your layout prior to creating your set.
The MIDI Switcher
The MIDI switcher implements switching logic that can be controlled by MIDI CC or PC messages, as well as momentary switches on the amps panel or footswitch. I have written the firmware in Arduino, and therefore runs to the Arduino standard 16Mhz clock/crystal.
If purchasing one of these boards from us, I will include a 28 pin socket and the atmega 168p chip pre-loaded with the headfirst firmware. The rest of the components required are readily available from local electronics stores (like Jaycar in Australia) or online (mouser etc).
Please refer to the BoM excel doc for the parts list.
The MIDI switcher needs a 5VDC supply, and the Ground can be set to chassis ground. If you want to implement a floating ground, you can do this but make sure your relay coils reference the same floating ground. I have used chassis ground many times without issue.
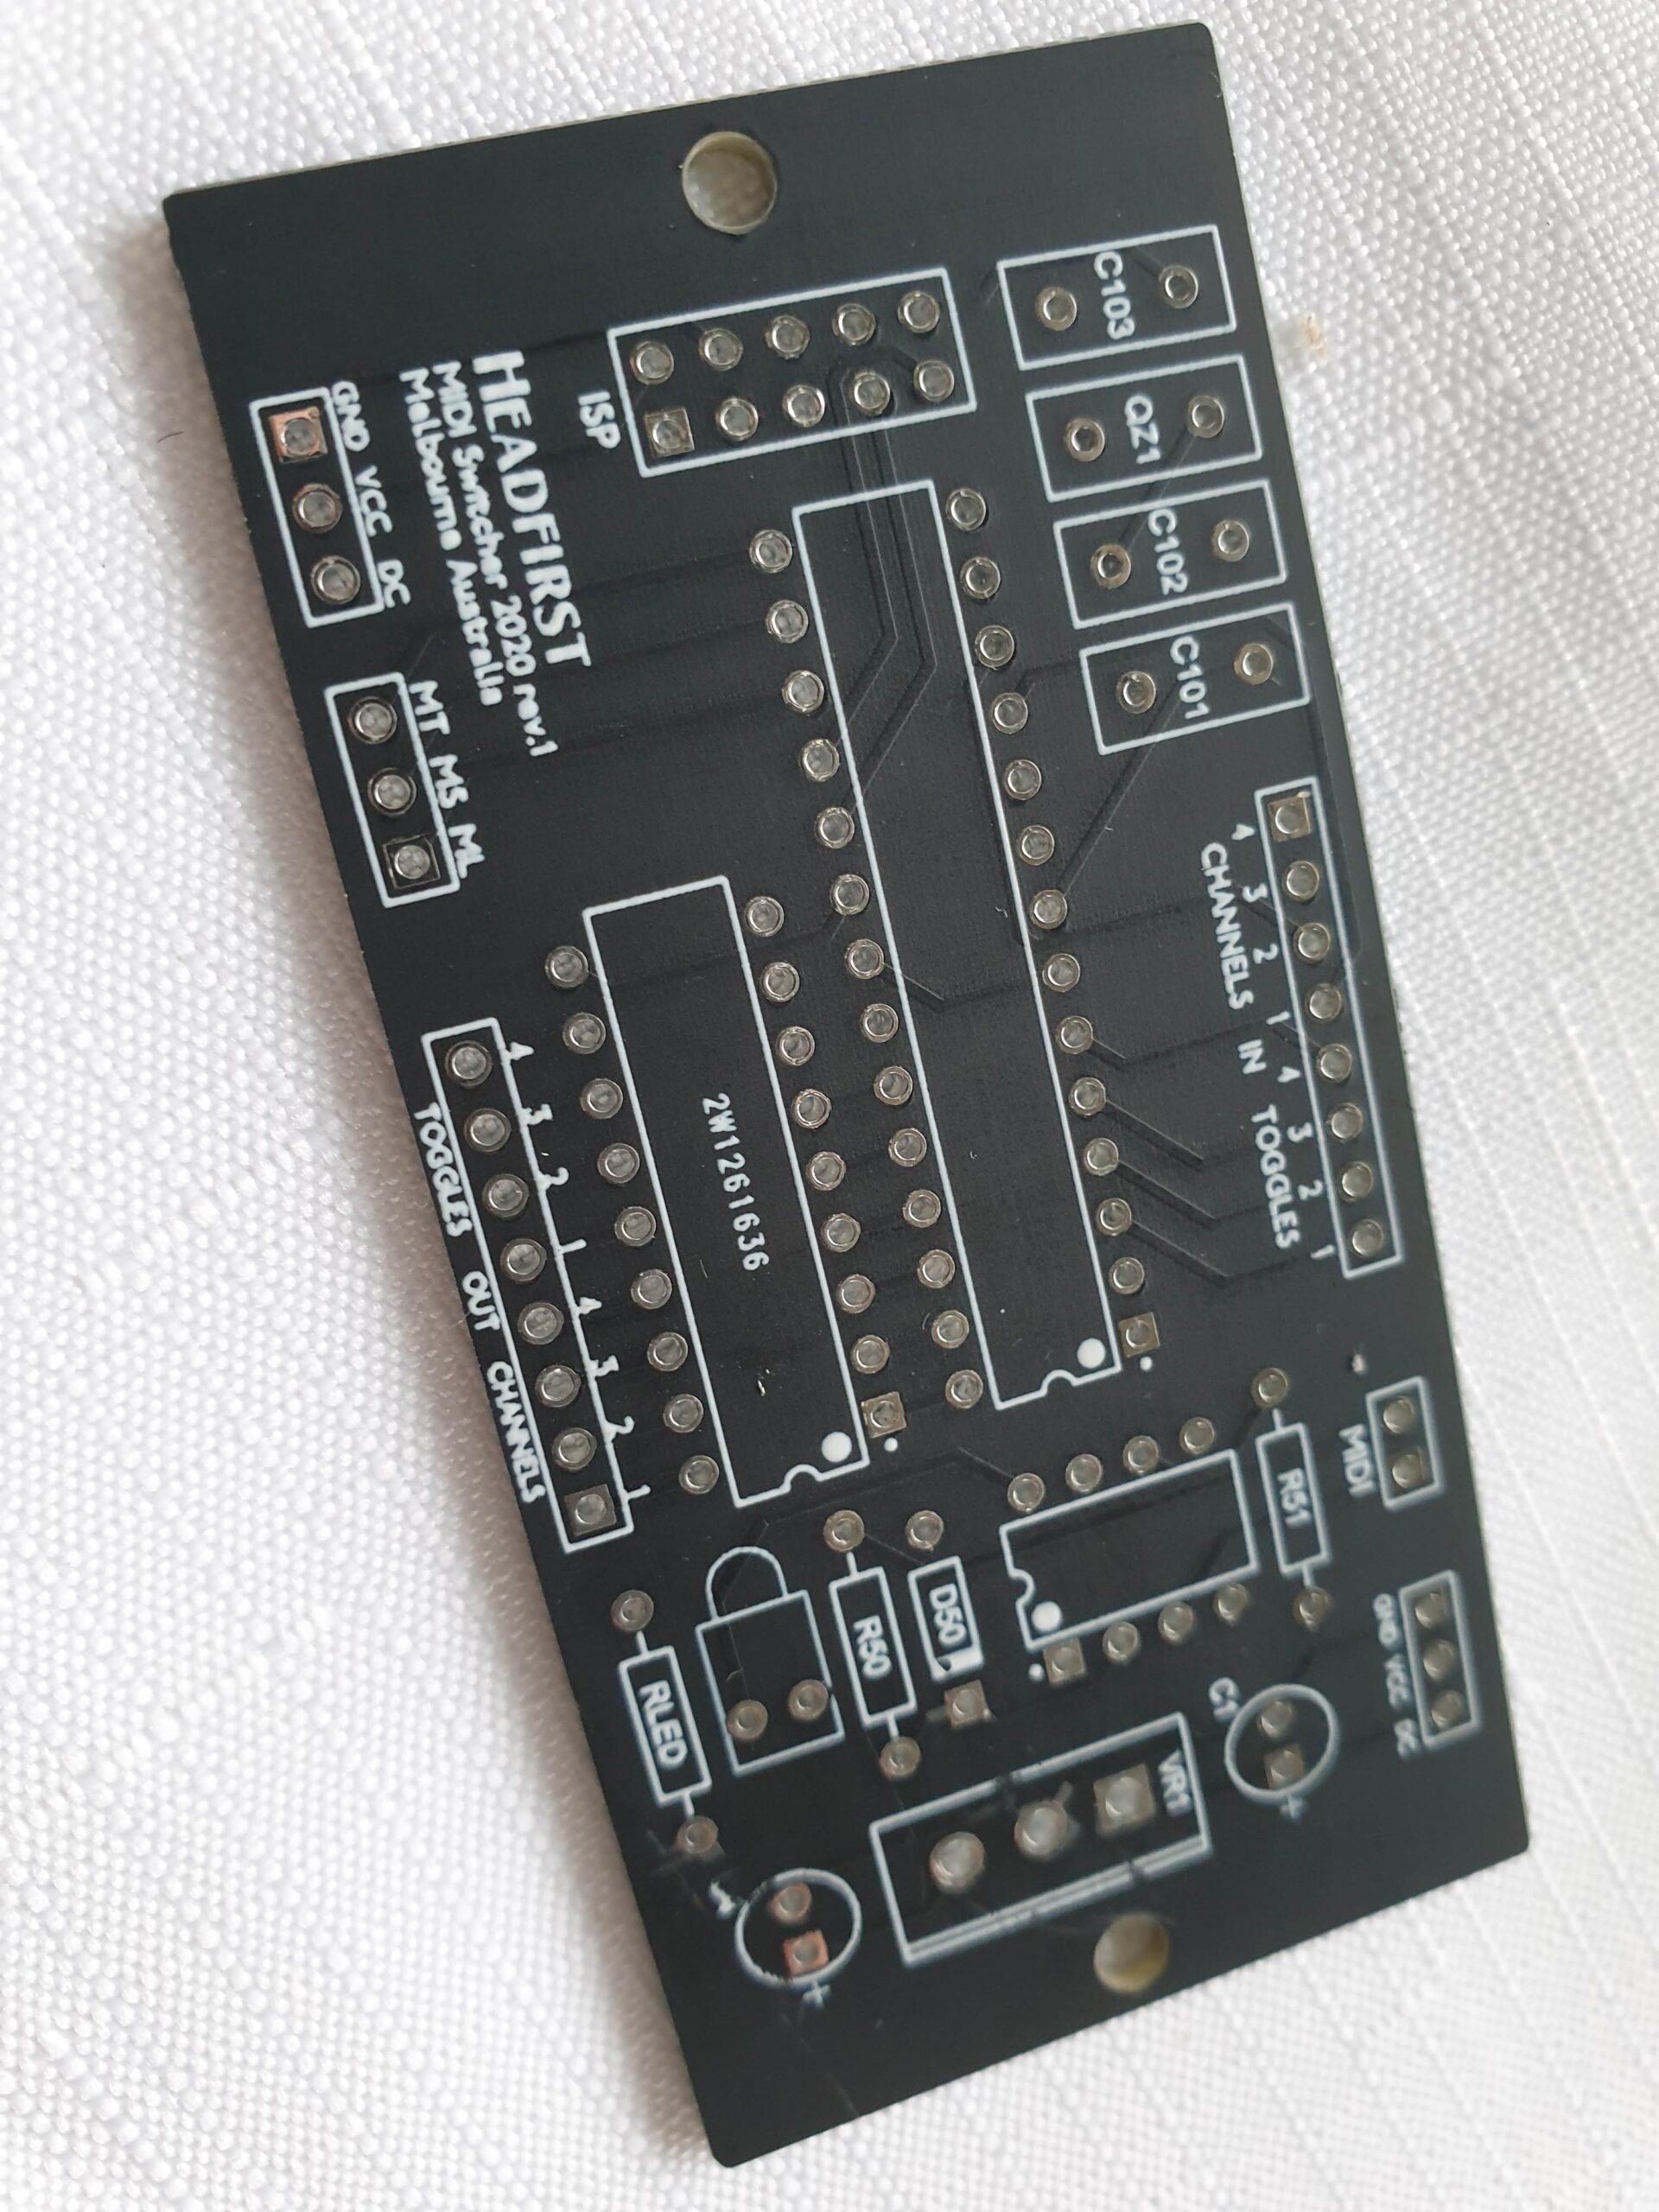
The 2020 Compact version of the board (pictured) relies on a readily available DC supply for the midi chip, which needs a 5v DC supply. This assumes that if you are already powering relays, then you probably have a DC supply line ready to go. It does include space for a 7805 regulator in case you have say a 12VDC line that needs to be dropped to 5V.
The MIDI switching implements: 4 x mutually exclusive outputs for channel selection 4 x independently switchable ‘toggles’, for switching relay driven options like FX loops, boosts and the like. Switching works by using momentary switches (panel or foot) and grounding the switch, momentarily. The firmware will read this and then activate the corresponding output.
Compact board: 80mm x 40mm